
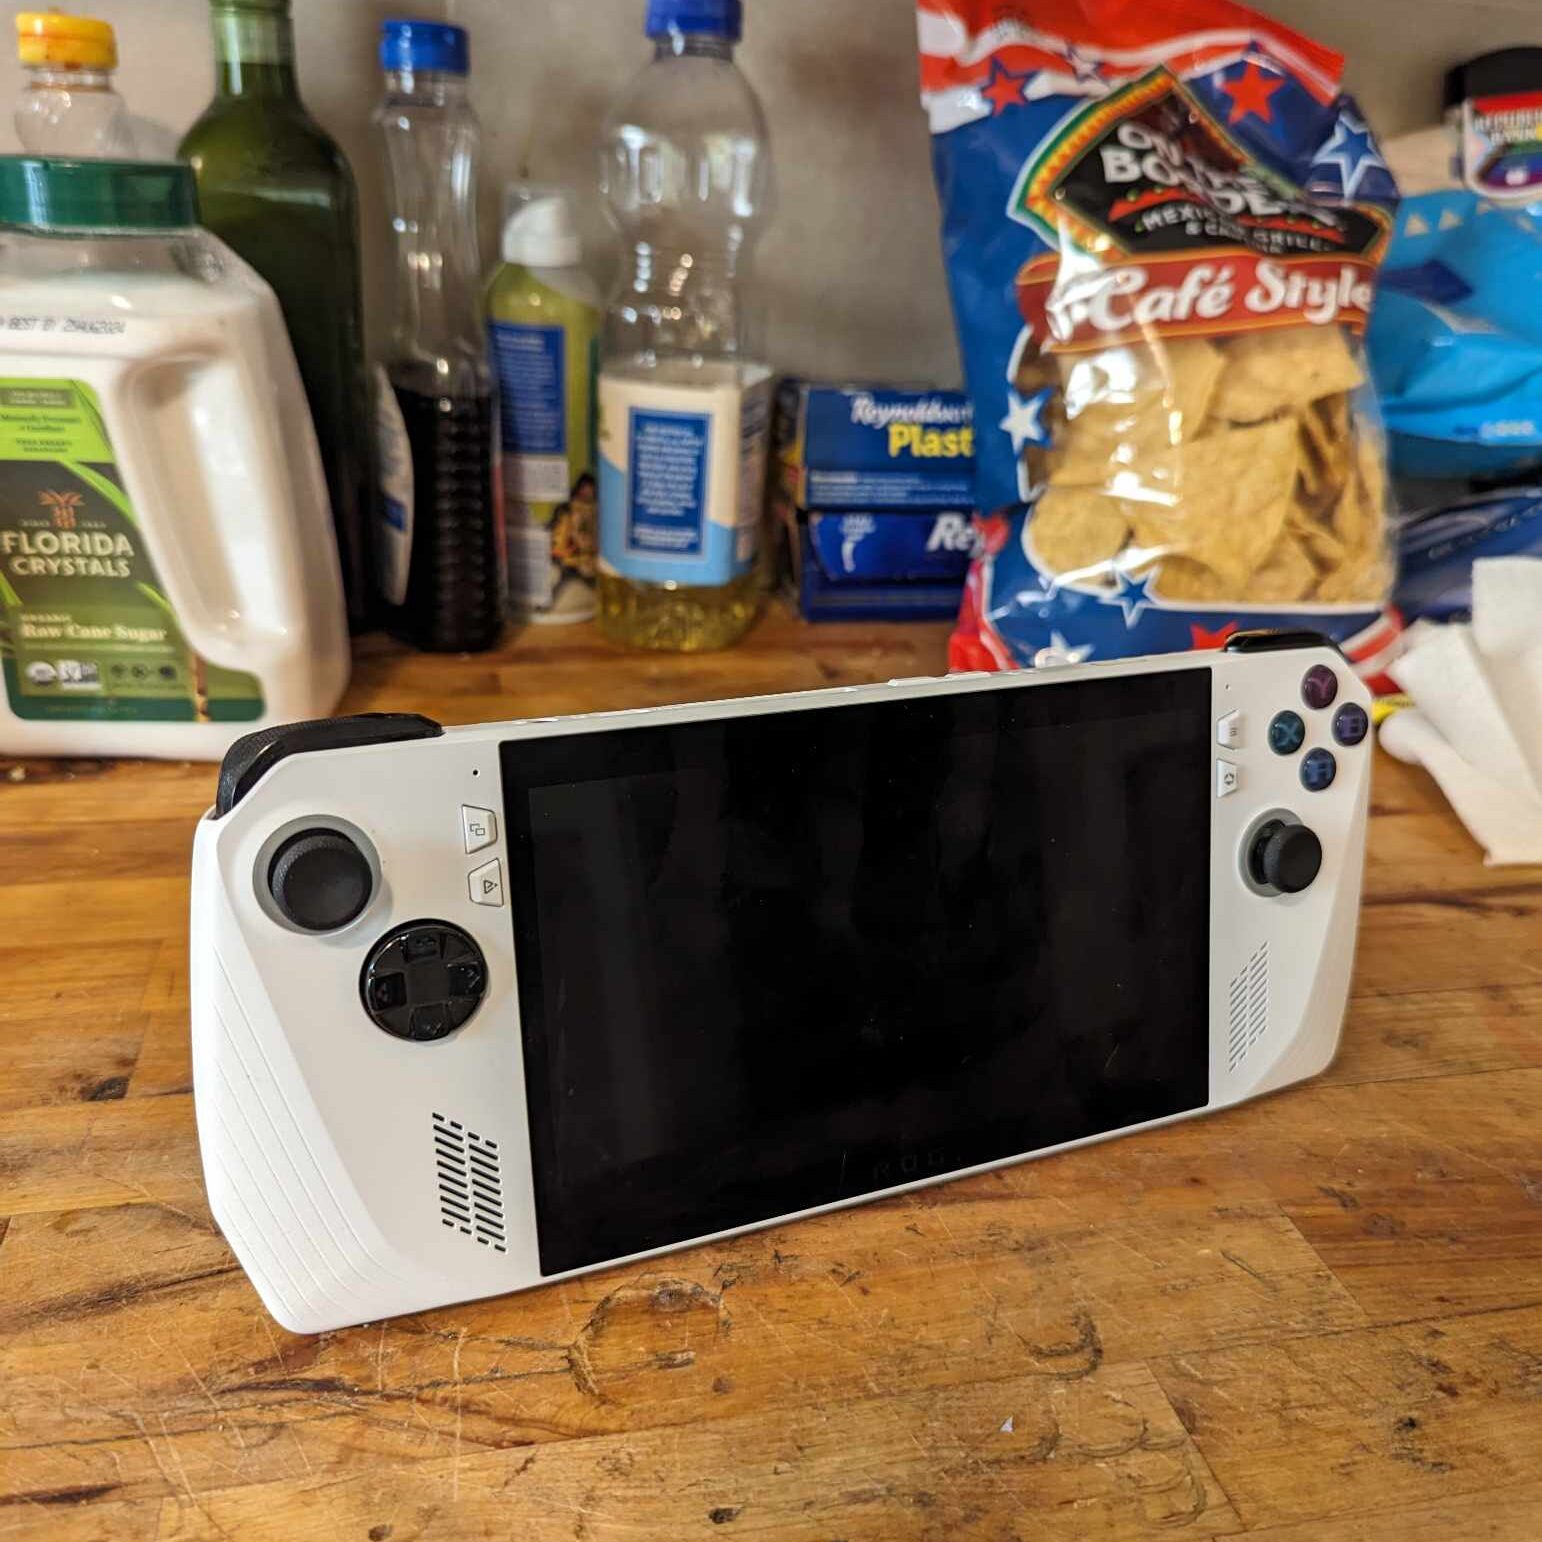
This is an overview and guide on how to install a 90Wh battery into your ally. There are currently two options for this mod. You can print a complete back plate replacement, or you can cut a hole in the factory back plate and glue on a battery cover. Please see the two different versions below.
Notes:
- This shouldn’t void your warranty as long as you don’t cut the factory back panel. You can contact customer service for better clarification based on your country, laws, and what’s allowed.
- The Red “warranty void” sticker on the battery and heat pipe does not void your warranty provided you do not damage anything inside of the device and restore it to a factory original condition before the RMA
- You will need to self-tap the screws into the printed part, FDM might require heat, SLA will require you to do this before you cure the part.
- Be extremely careful when removing the back panel screws, paddle, and trigger screws as they can strip!
- Do not bend, fold, poke, scratch, smack, slash, rip or lick the LiPo pouch cells
- There are associated fire and shock hazards in this guide please be sure to take appropriate measures to ensure your safety.
- BY FOLLOWING THIS GUIDE YOU TAKE RESPONSIBILITY FOR YOUR OWN ACTIONS
How to “Fold” the G15 Battery
Note:
- You will need rubber-insulated gloves
- Be VERY careful, this is fairly safe as long as you don’t puncture the battery.
- Please keep a bucket of dirt or sand next to you. In the event of a thermal runaway knock the battery into the bucket and take it outside.
- A NORMAL FIRE EXTINGUISHER WILL NOT PUT OUT THE FIRE
- Do not bend, fold, poke, scratch, smack, slash, rip, or lick the LiPo pouch cells
- Do not attempt to fold the same battery multiple times. Once the tabs have been bent you don’t want to bend them a second time.
Instructions:
- Put on your gloves and prep your workspace removing any metal objects. This is a good time to get that bucket of dirt ready in case of an emergency.
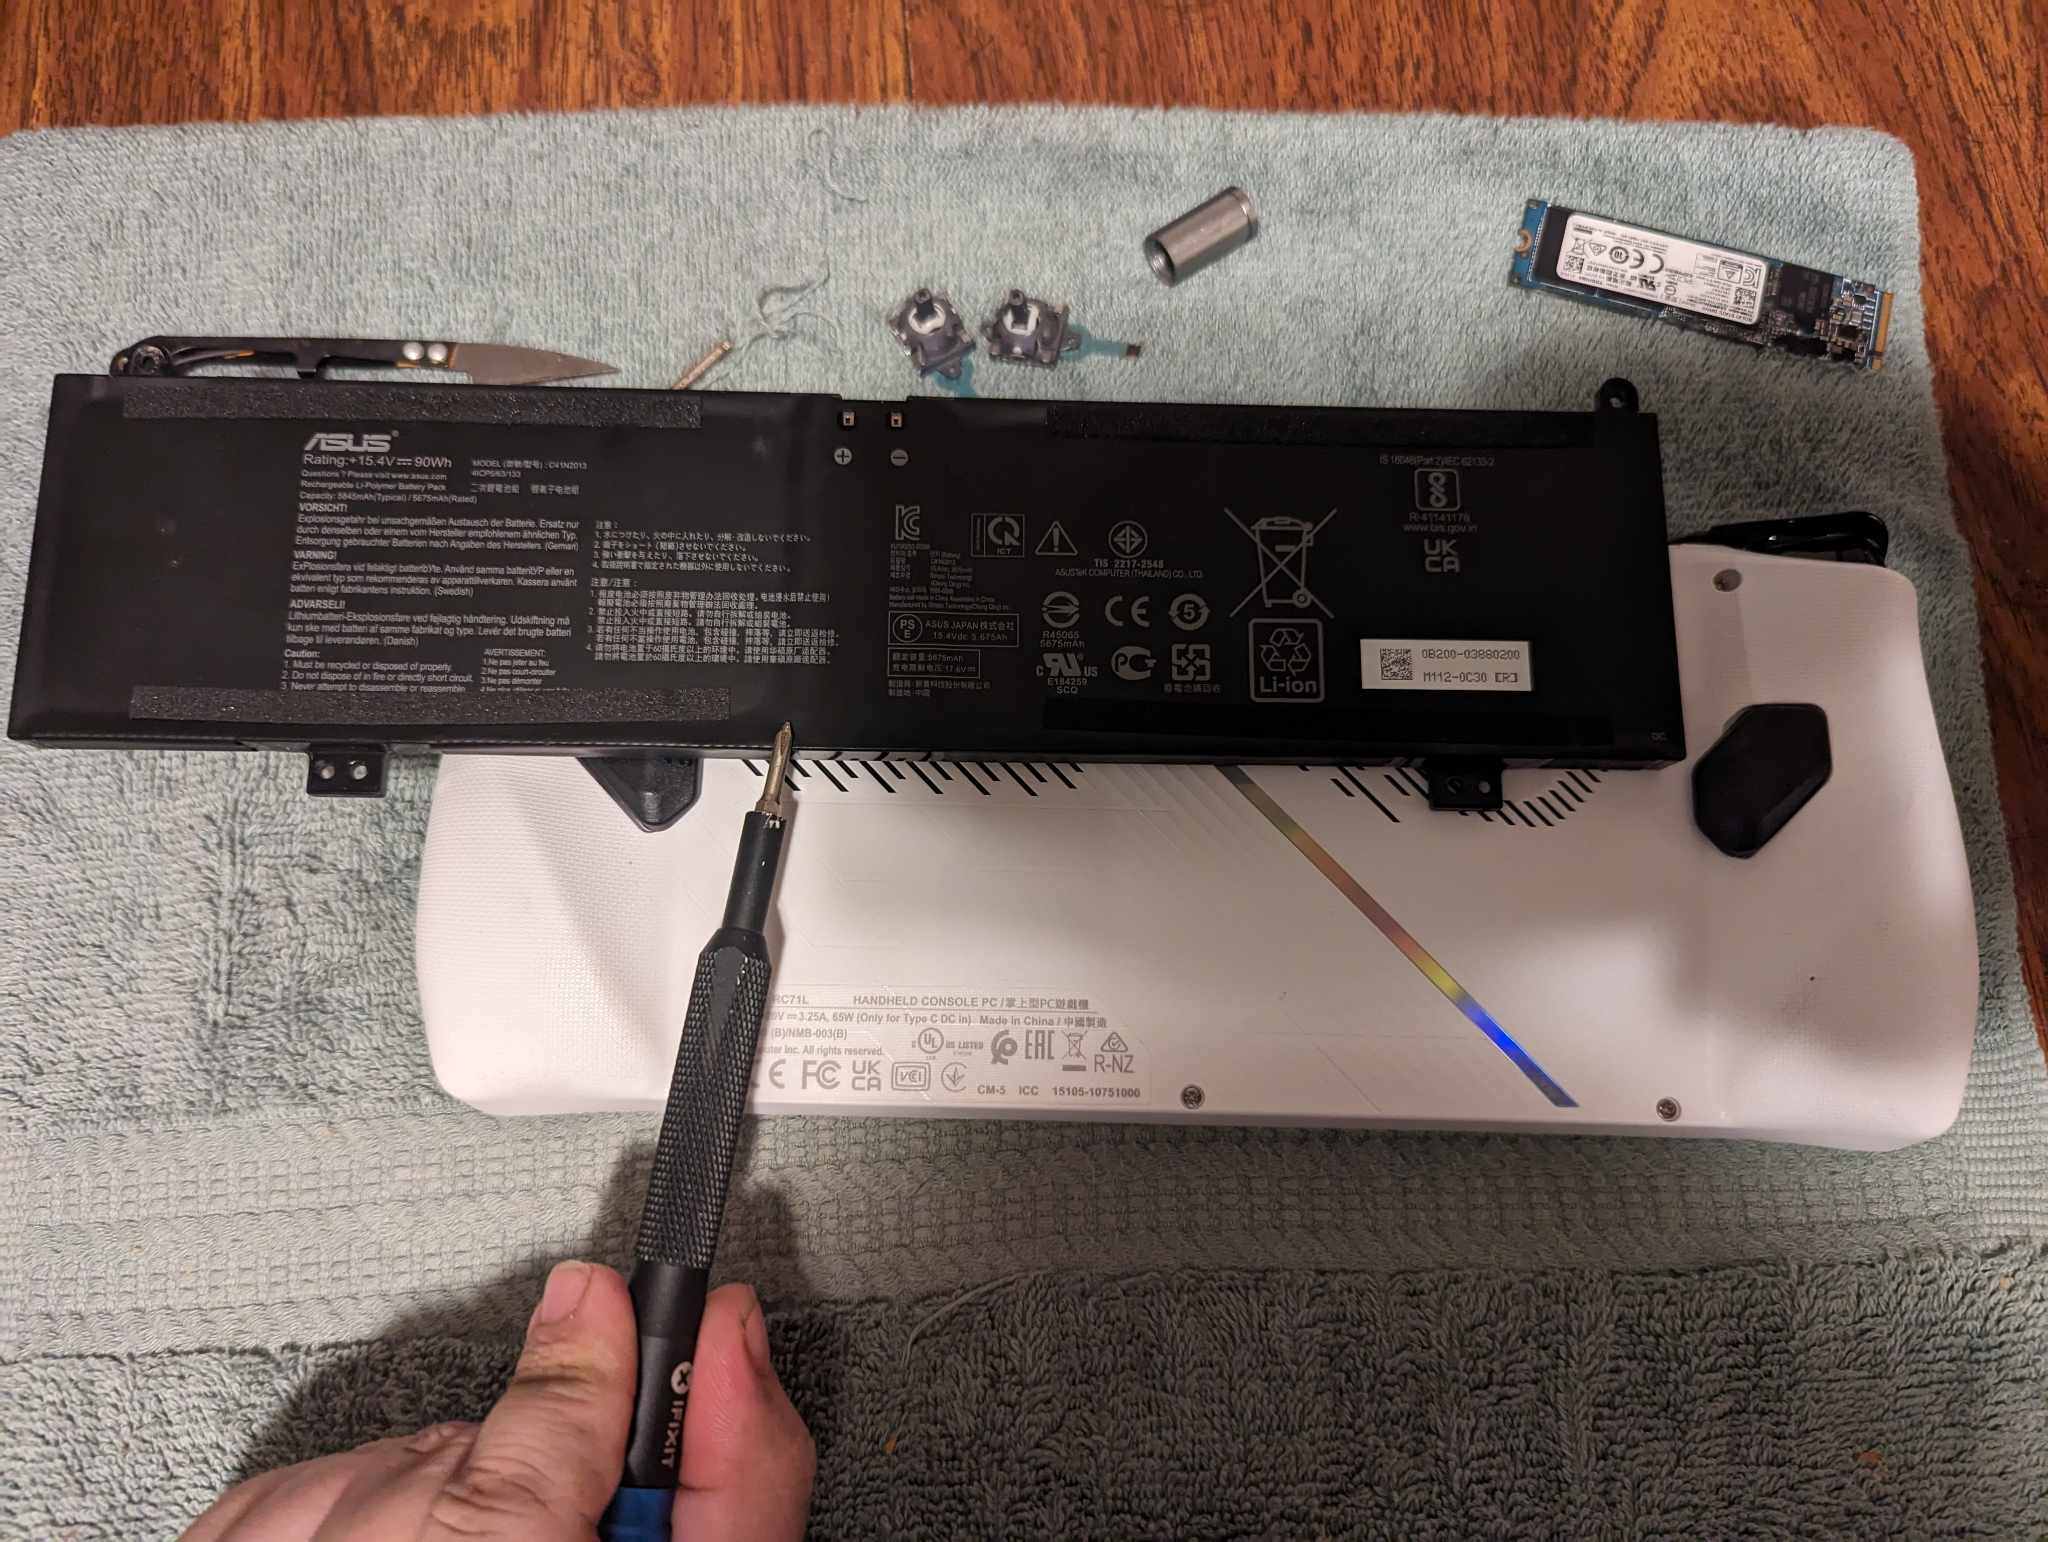
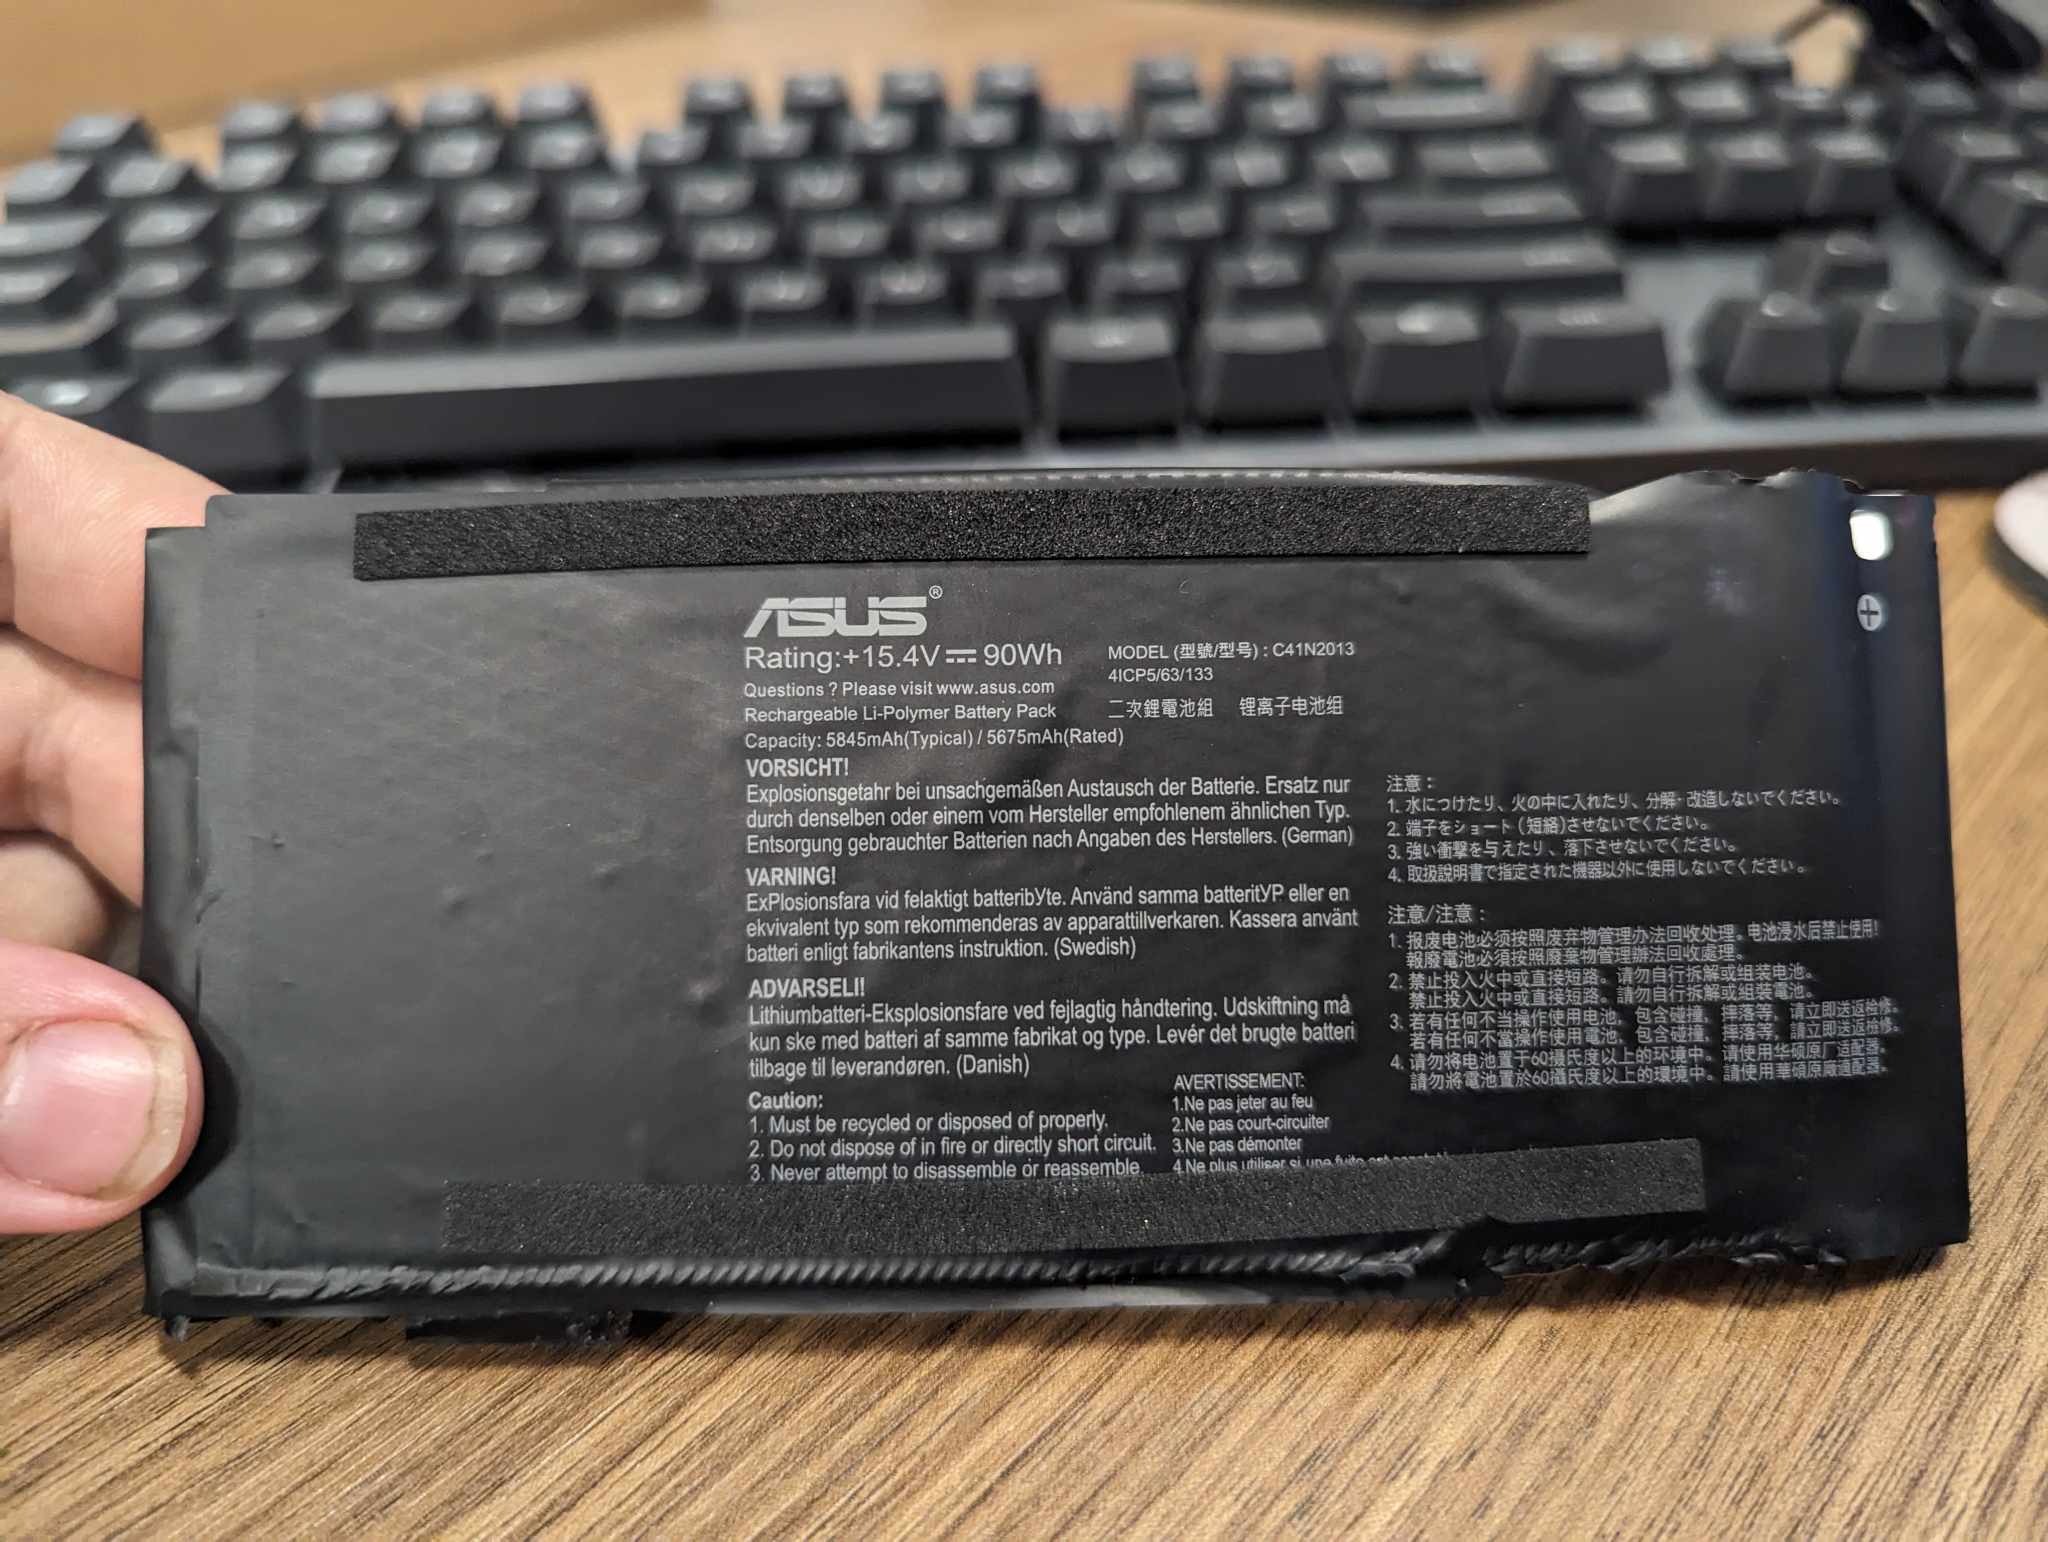
- Always test your G15 battery prior to folding some 3rd party brands won’t show a battery percentage with the ally, and we’ve seen brand new 3rd party batteries ship DOA.
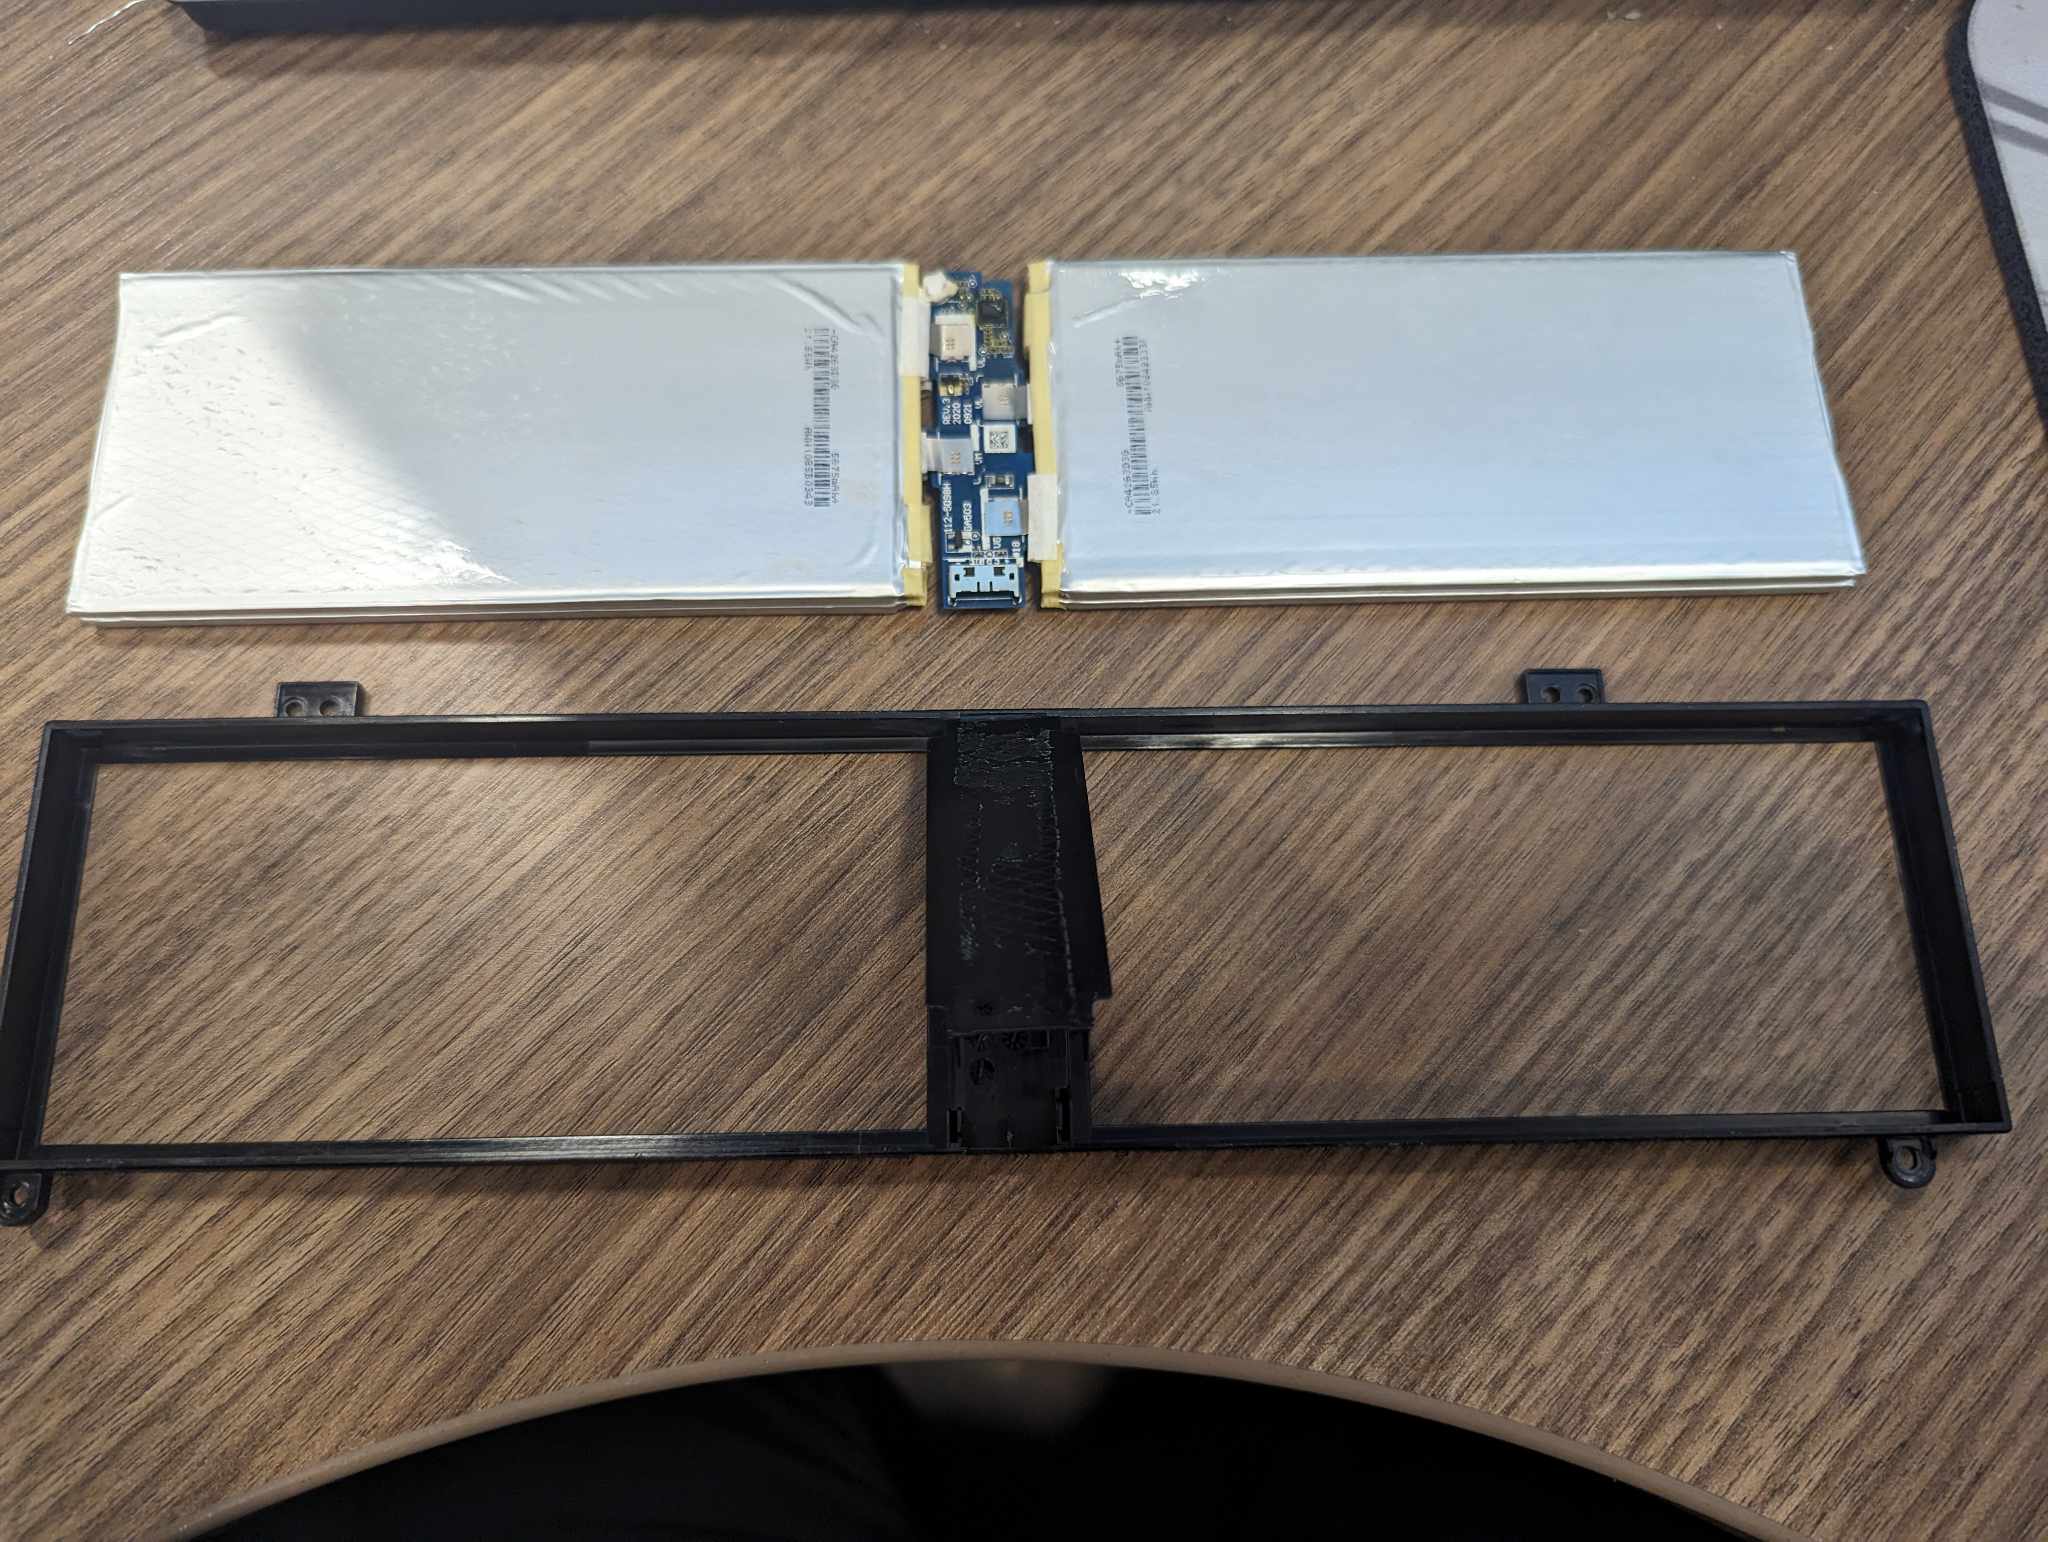
- Remove the black film from the battery shell
- remove frame
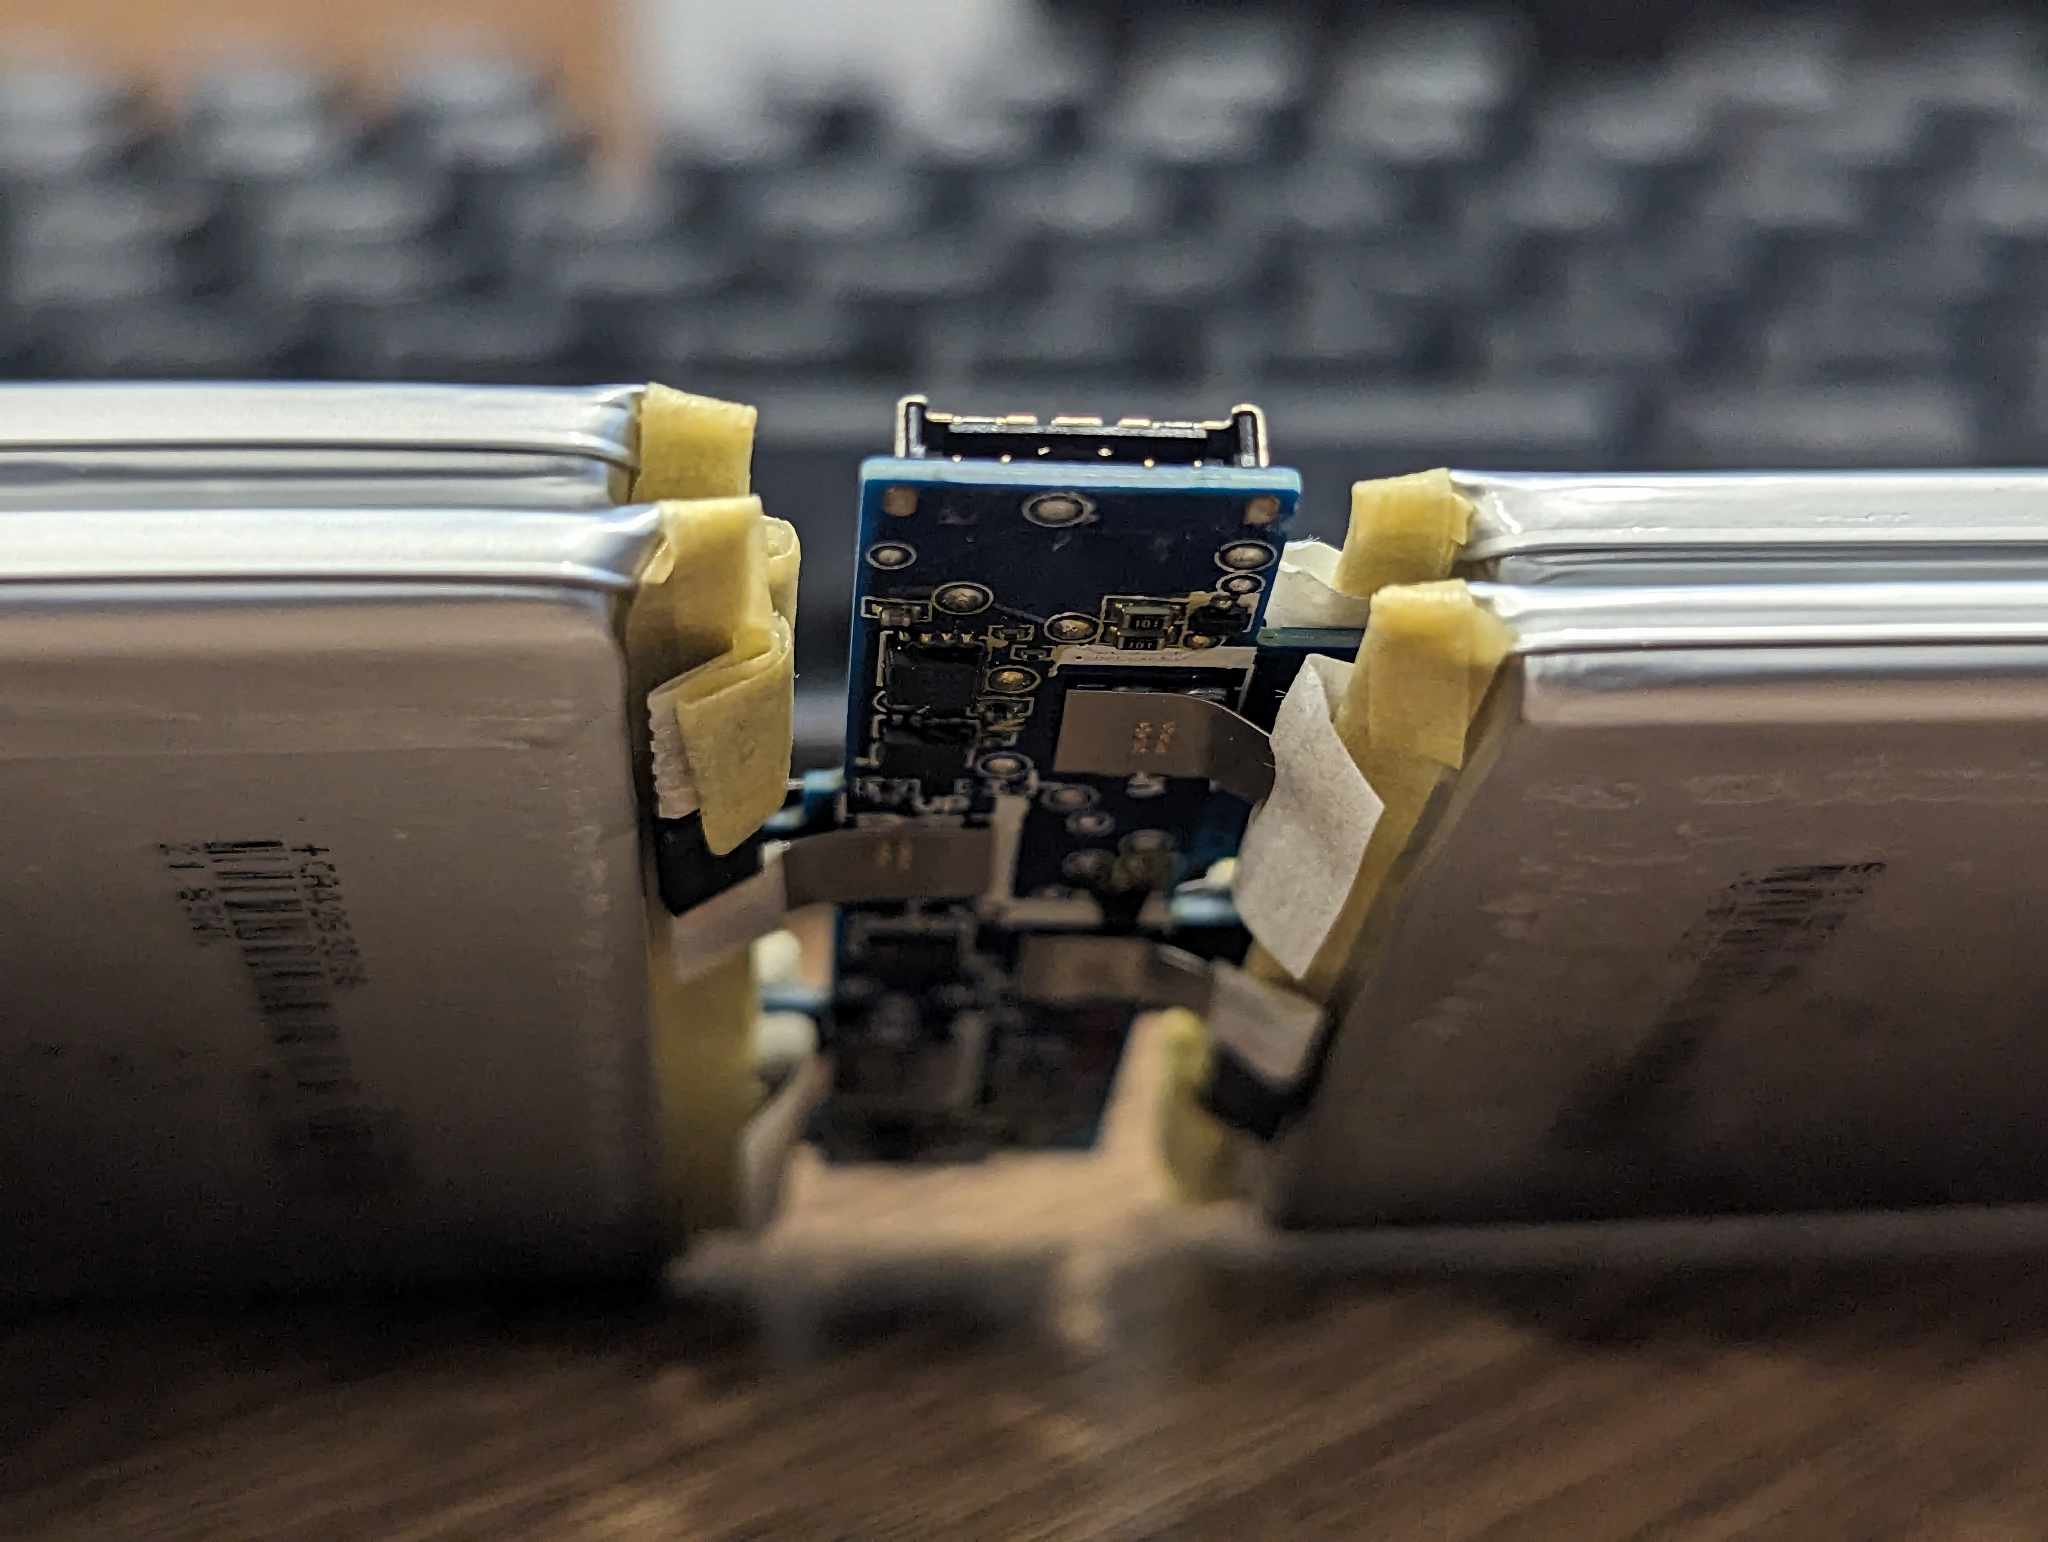
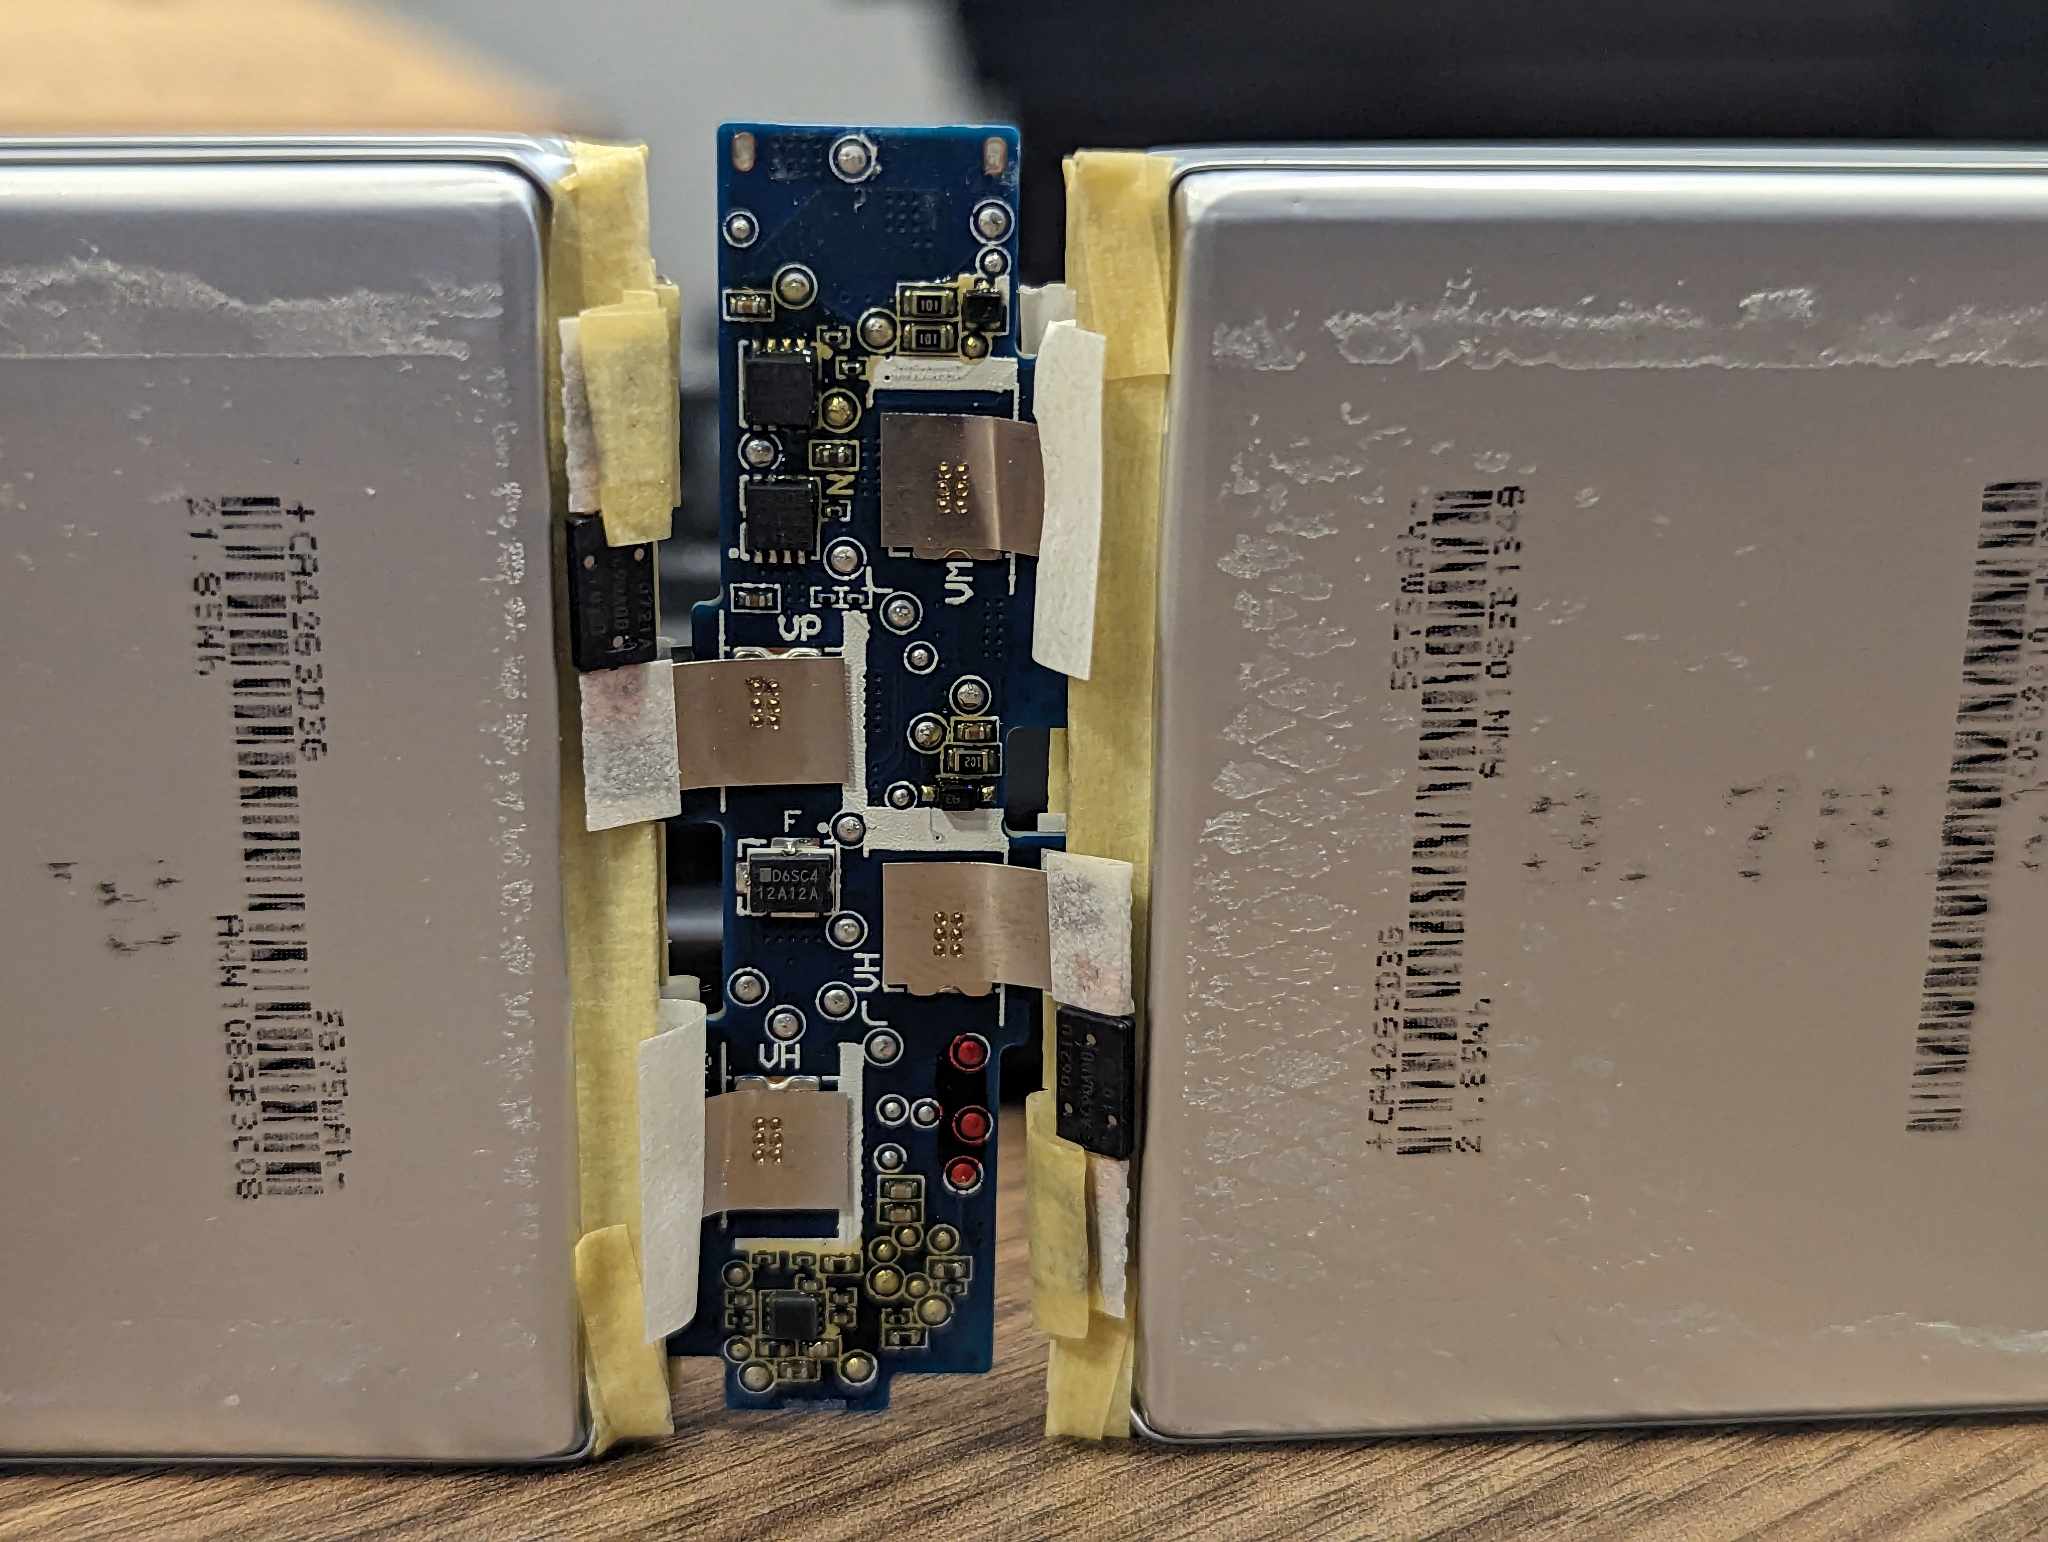
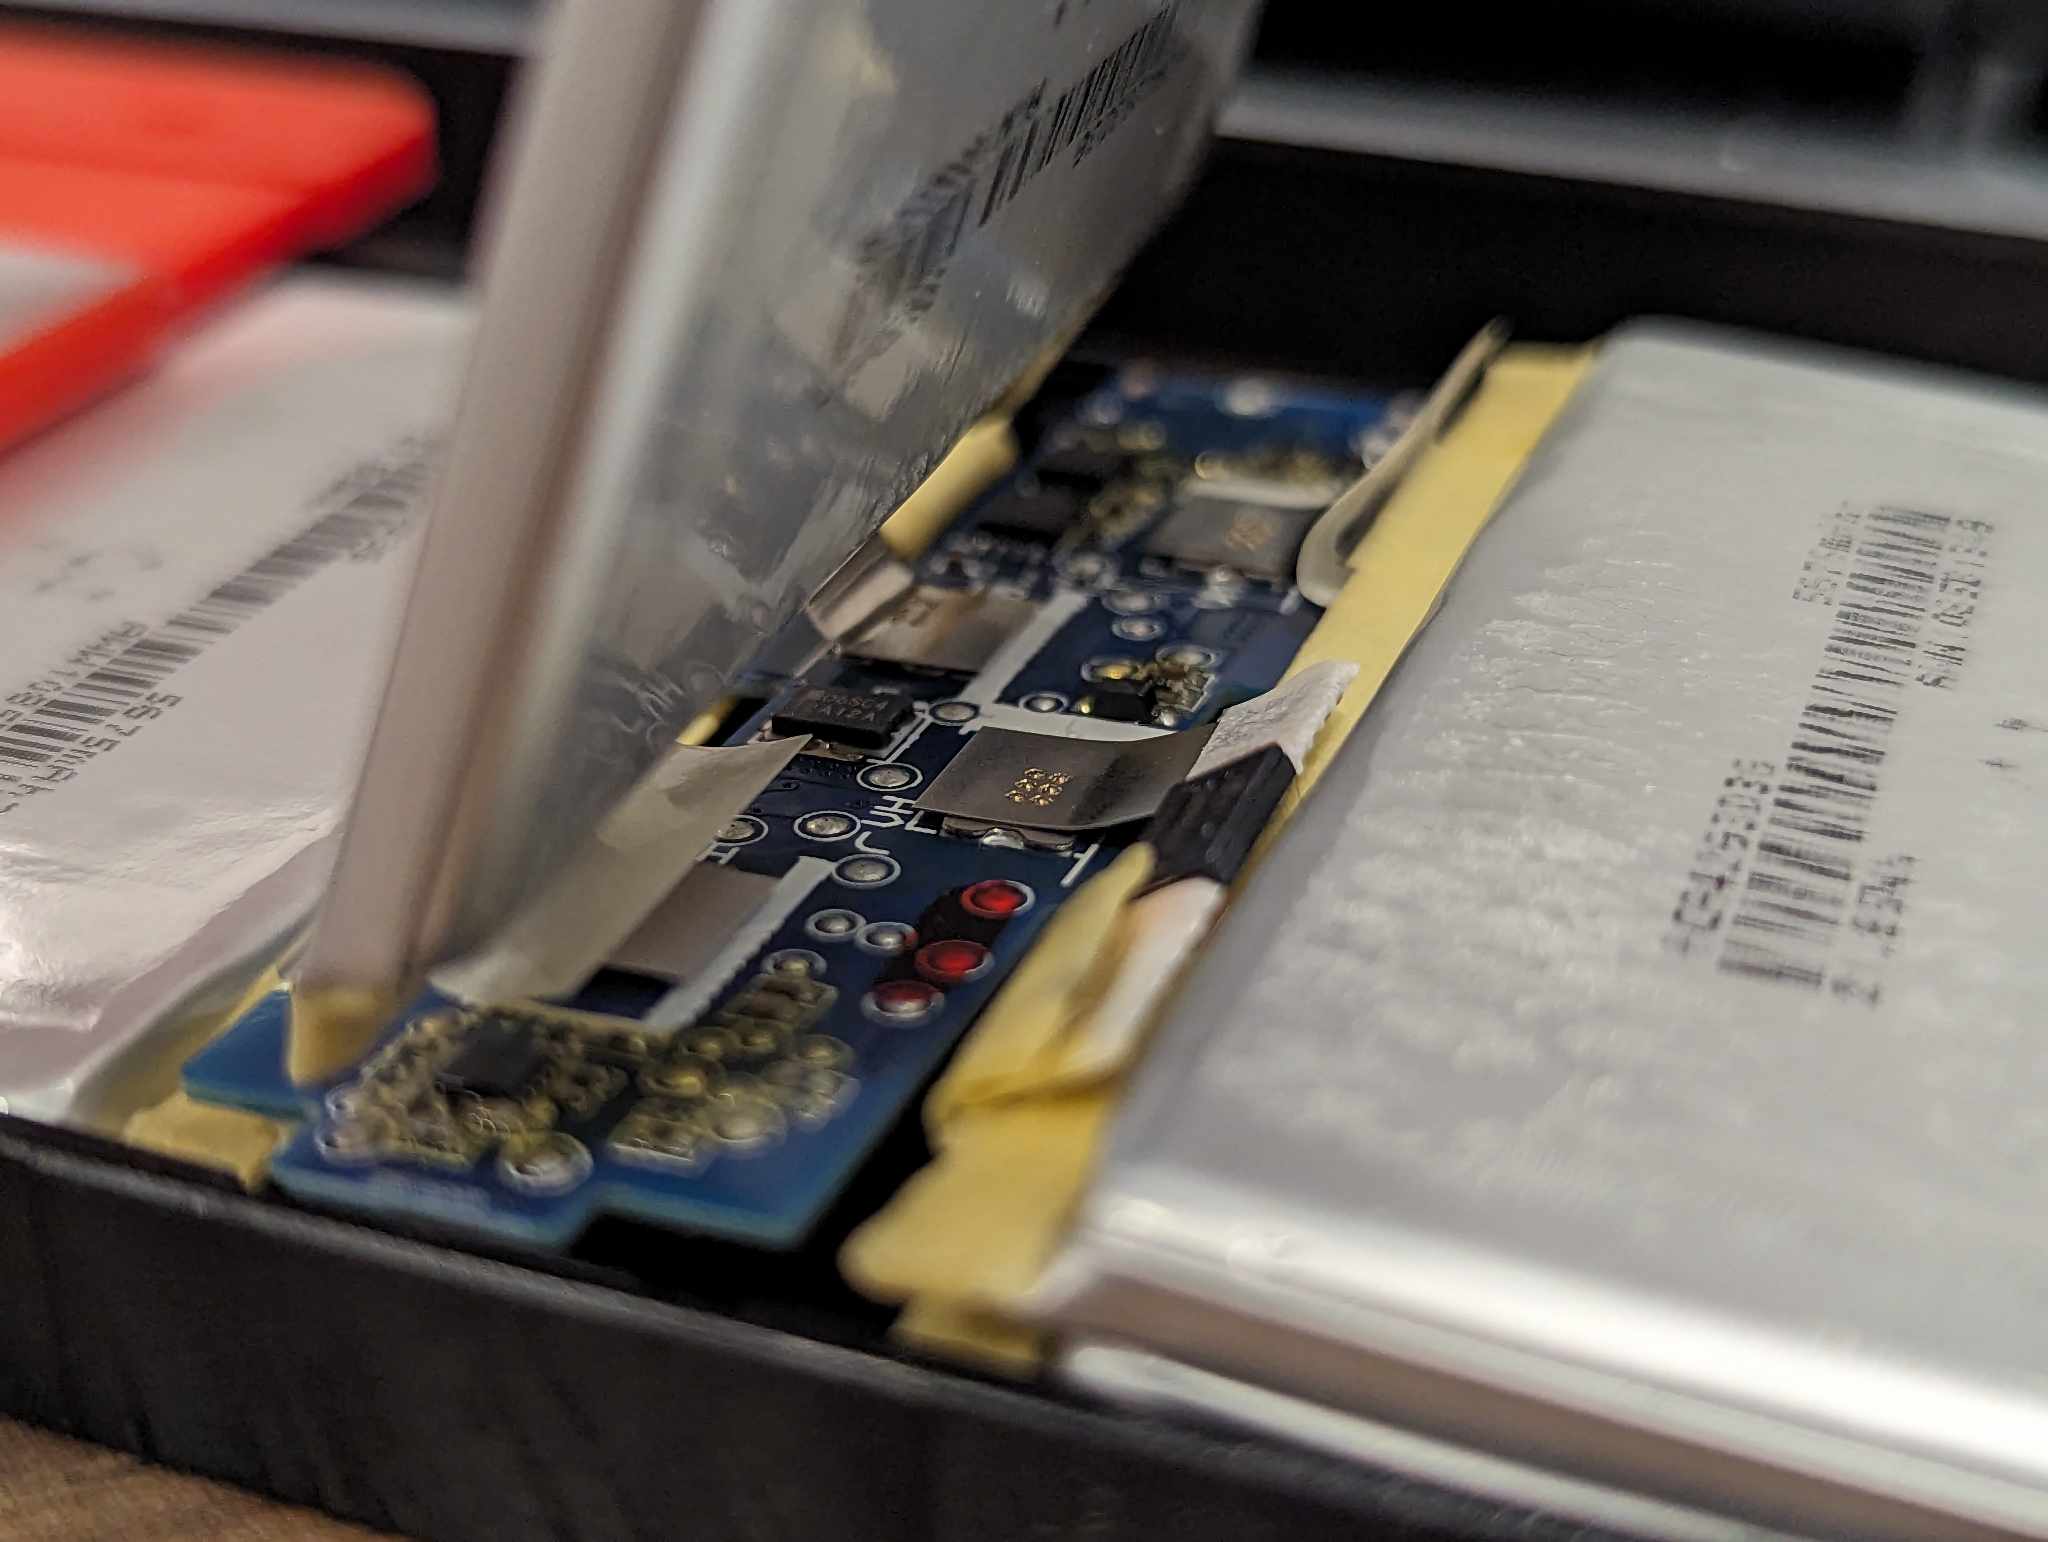
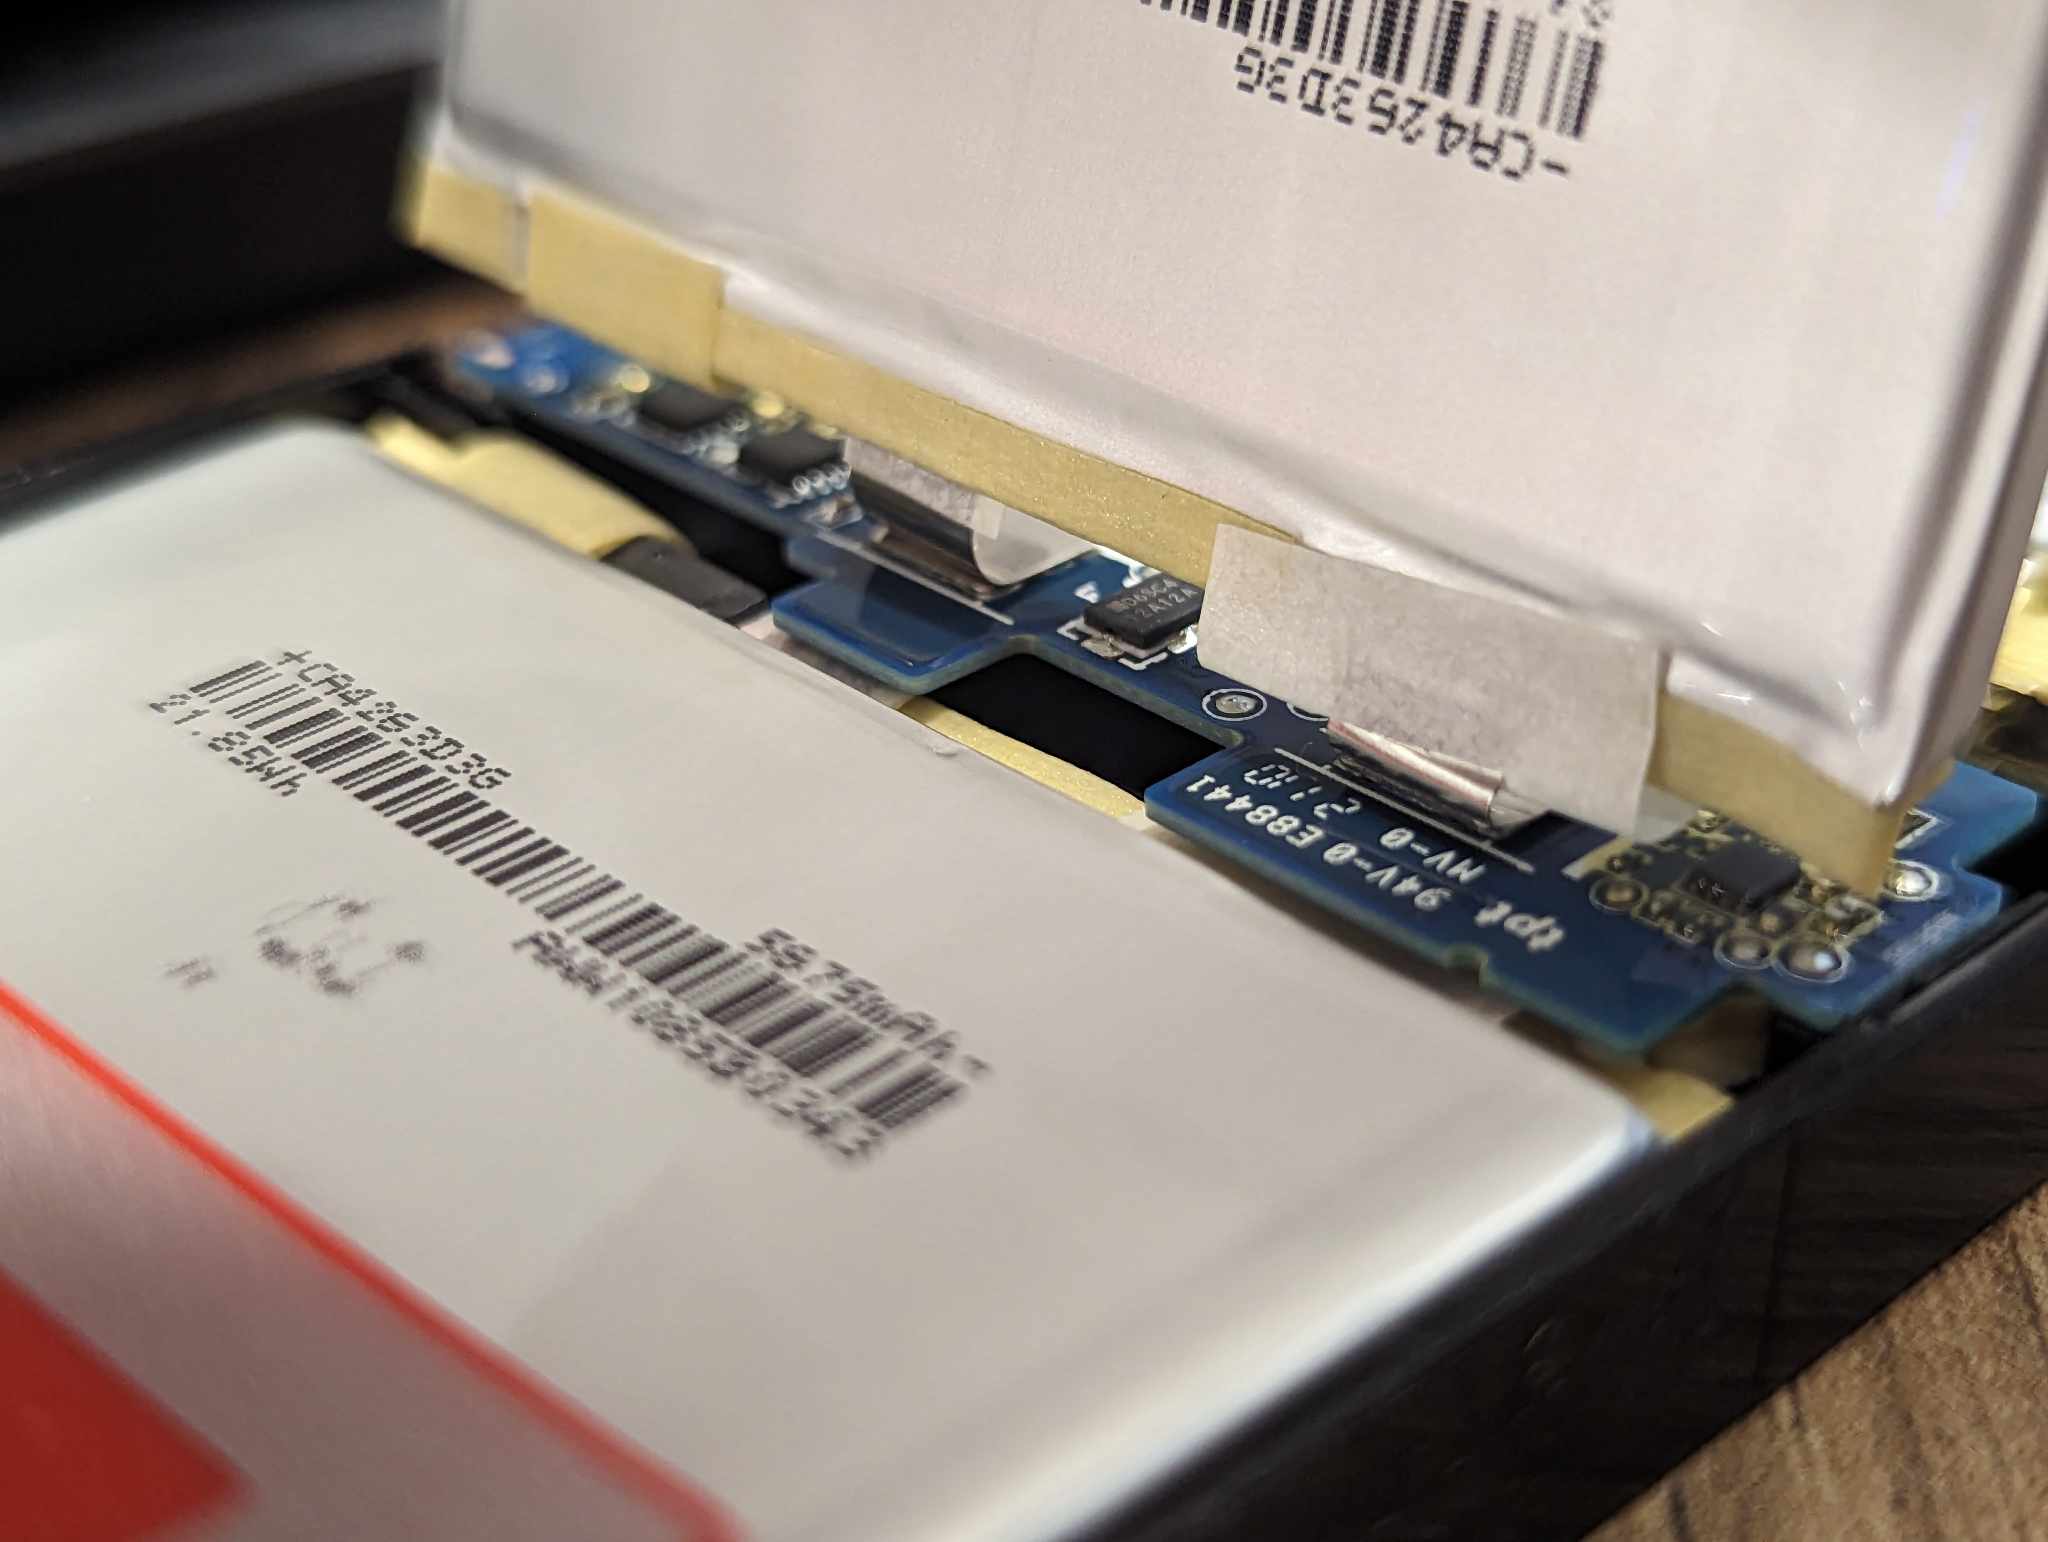
- Put 1 layer of electric tape over each side of the BMC to protect it from shorting. Don’t cover the connector and dont wrap it excessively as it could overheat.
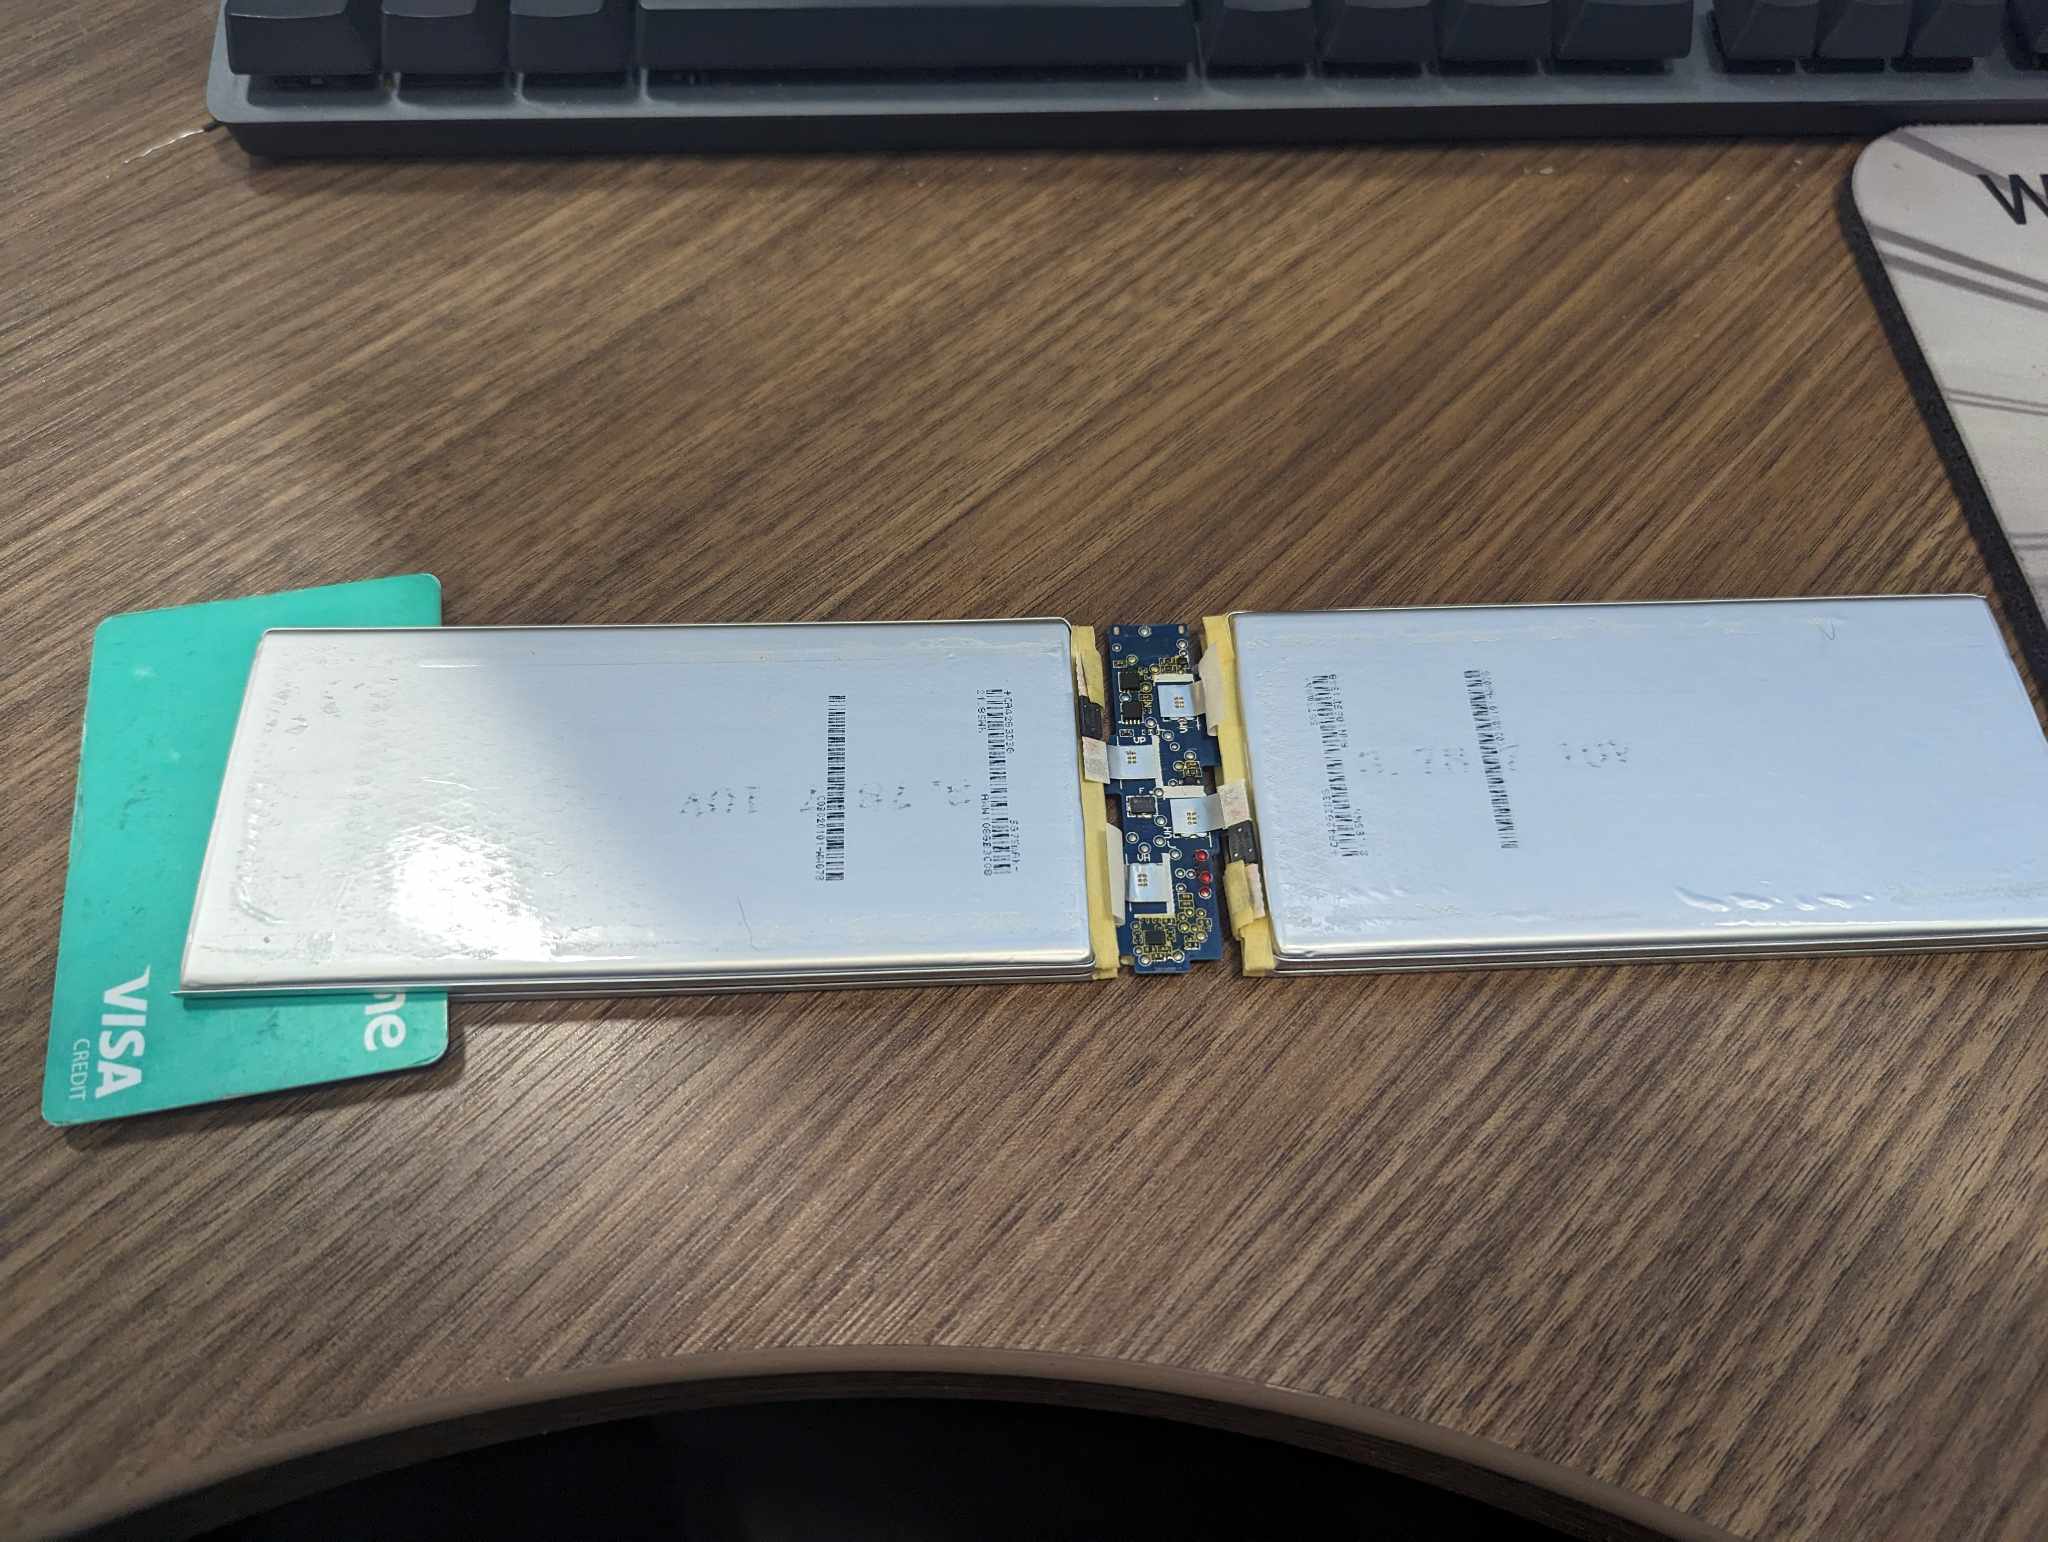
- Gently separate the cells using a PLASTIC card or tool
- Fold the opposite cells together to the non seperated side and tape them.
- Do not fully wrap the cells in tape, this way if they expand over time there’s less risk of an explosive vent. Use the minimum amount of tape on each end of the pouch to hold it together. We recommend electric tape as it can expand if needed.


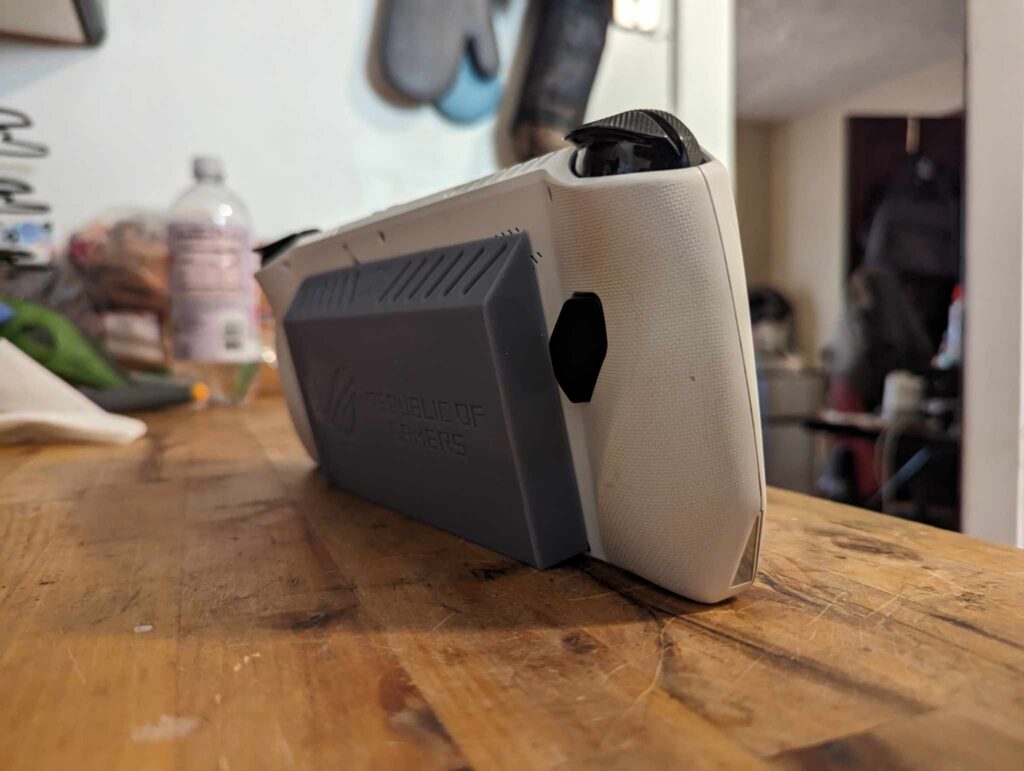
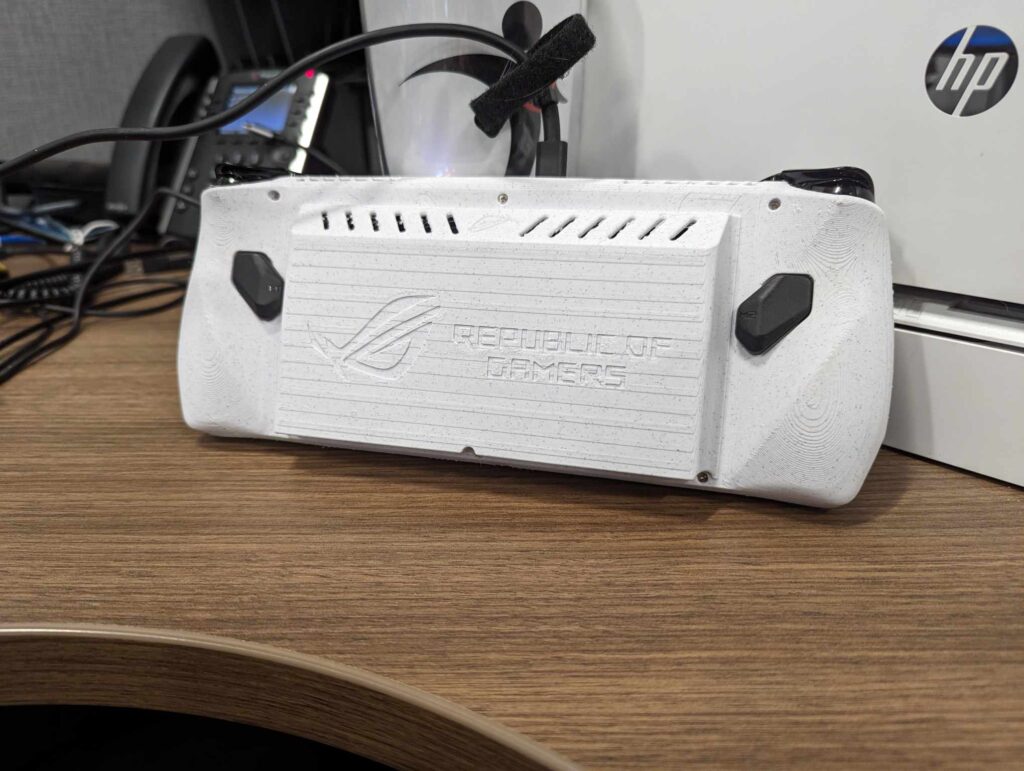
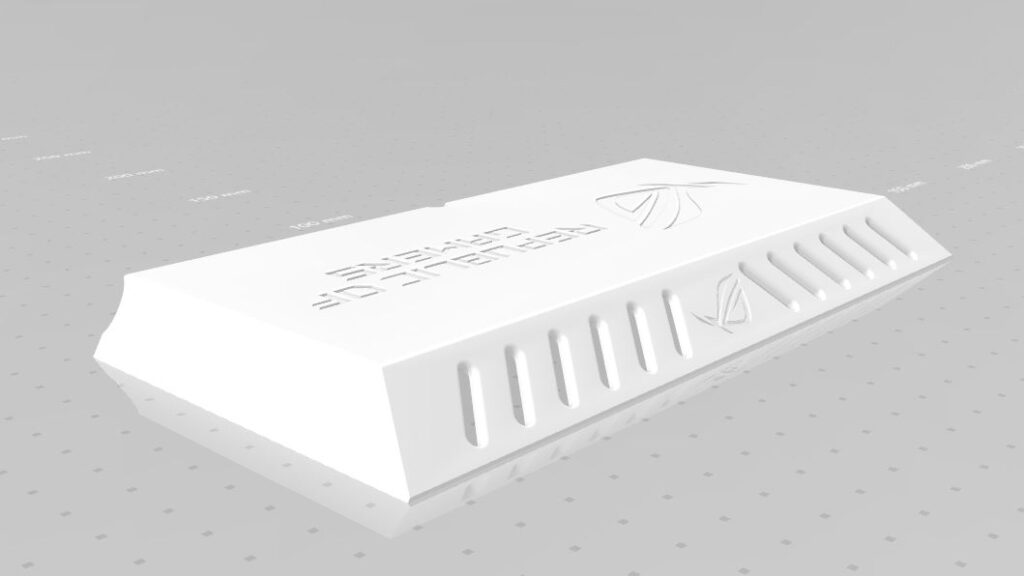
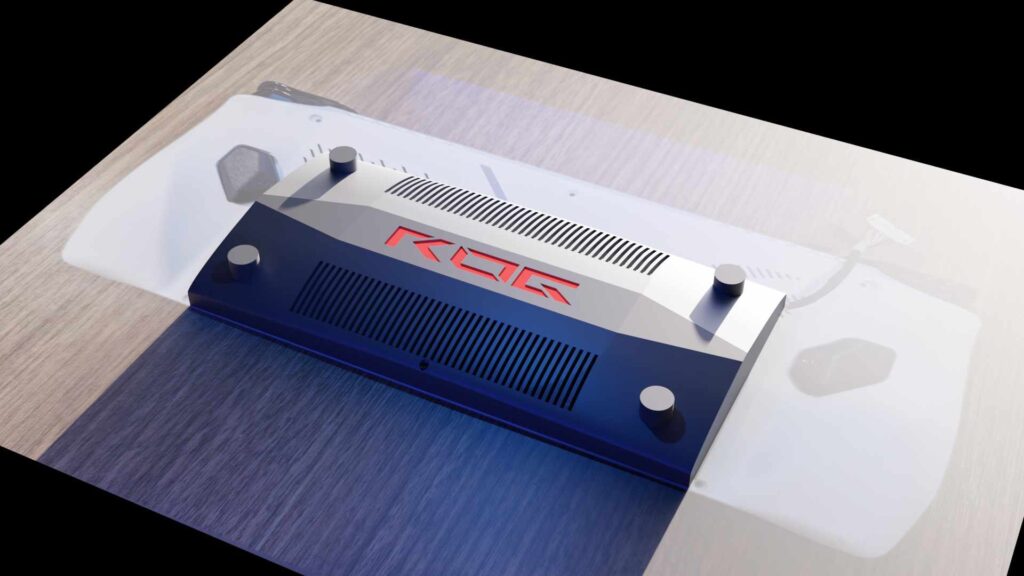
Full back panel replacement option

Materials needed
- Backplate .stl from here (Here)
- Battery holder .stl from (Here)
- FDM or SLA printer
- Phillips size 100 driver
- 90Wh Asus G15 Battery(USA Here)(USA Link 2 HERE)
- G15 AE Battery Connector (or you can cut and extend your Ally one)
- Dremel or Box cutter
- Electric Tape
- Rubber gloves.
- Plastic pry tool
Installation for full back panel replacement option
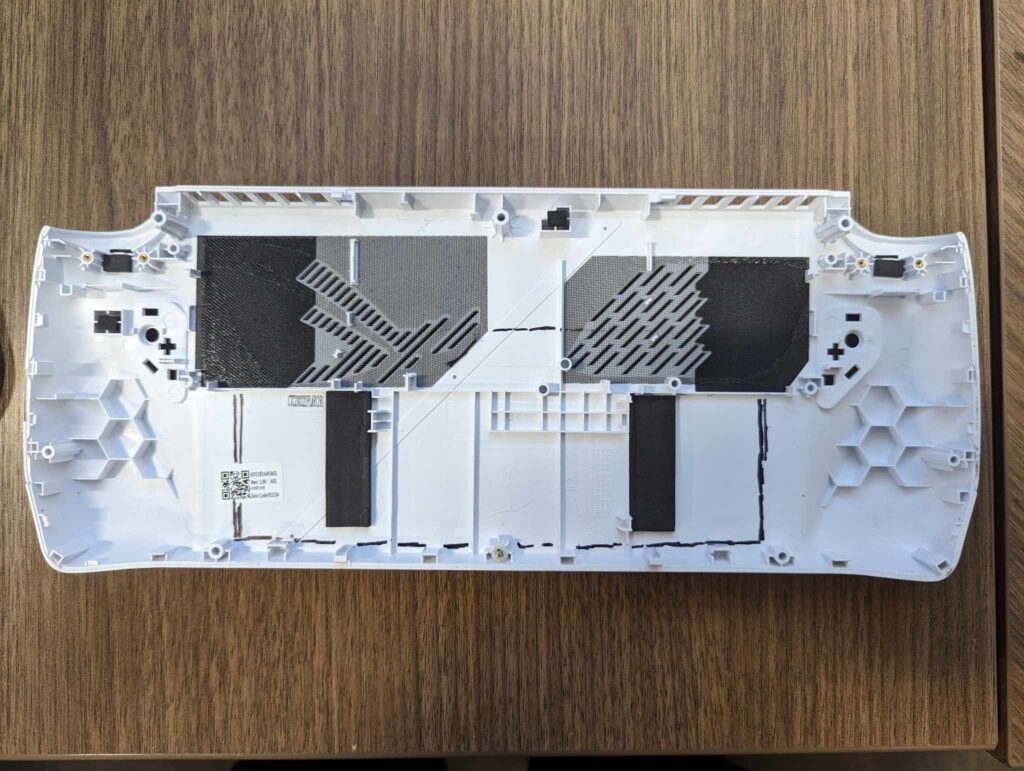
- Remove back panel
- Remove Factory 40Wh battery
- Remove the metal bracket carefully from the battery
- Screw the metal battery bracket back in
- Screw in the 3D printed battery holder
- Lay 90Wh battery in place
- Plug in 90Wh battery cable
- Test fit everything
- Swap trigger and paddles over to replacement back panel
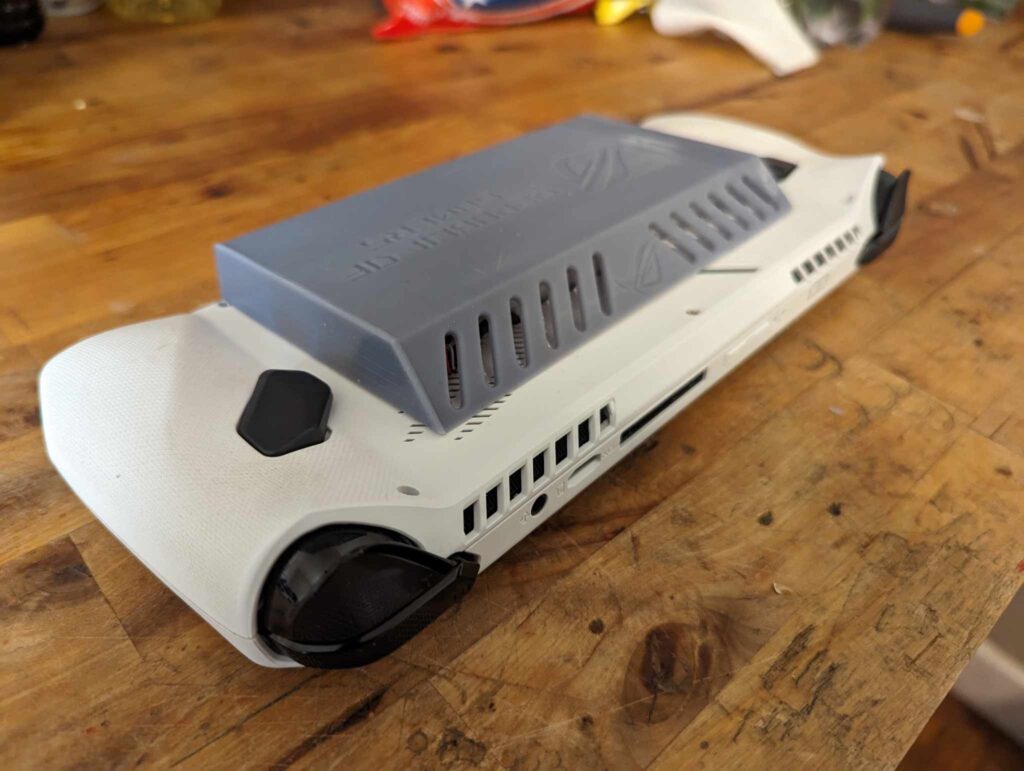
Battery cover option
Materials needed
- Battery Cover .stl from (Here)
- OEM Backpanel Replacement (Here)
- Battery holder .stl from (Here)
- FDM or SLA printer
- Phillips size 100 driver
- 90Wh Asus G15 Battery(USA Here)(USA Link 2 HERE)
- G15 AE Battery Connector (or you can cut and extend your Ally one)
- Electric Tape
- Rubber gloves.
- Plastic pry tool
We have several different case modification options.
Installation for Battery cover version
- Remove back panel
- Remove Factory 40Wh battery
- Remove the metal bracket carefully from the battery
- Screw the metal battery bracket back in
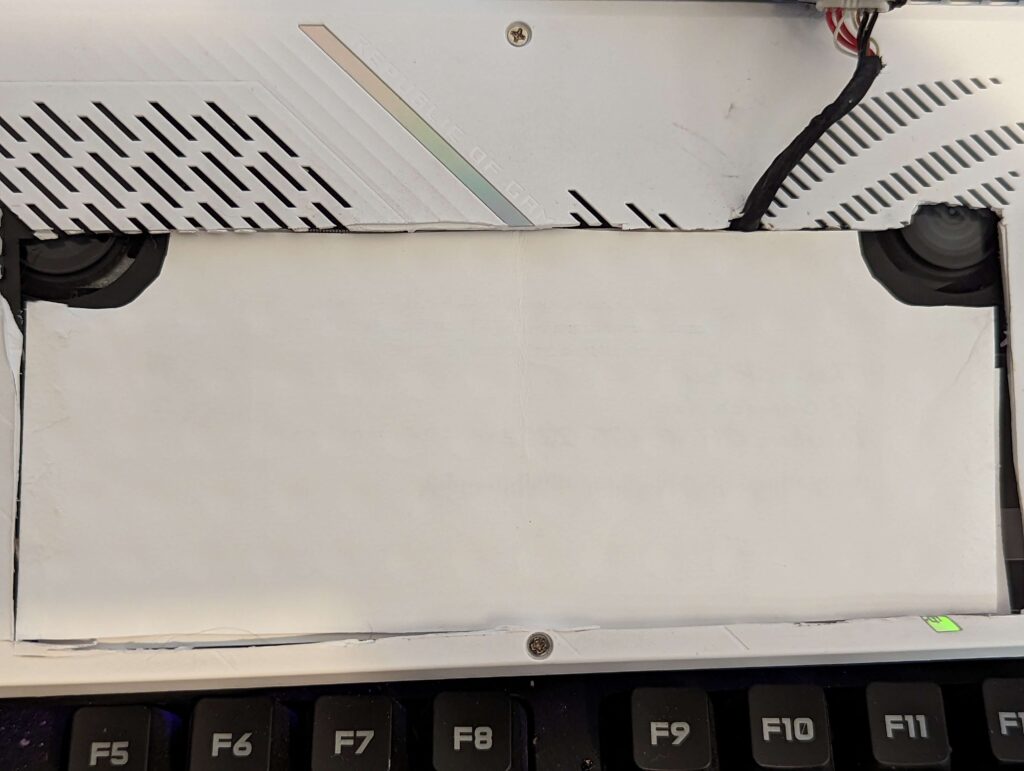
- Cut back the panel by 6″ x 2.5″ so the battery can fit through it. I just used a boxcutter, the battery cover will hide any poor cuts.
- Add a cardboard layer between like so, this keeps the battery off the fan shroud.
- Lay 90Wh battery in place
- Plug in 90Wh battery cable
- Test fit everything
- Once everything has been test-fitted and you are happy with the fitment we can glue it together.
- Epoxy or Super glue is recommended.
- Close the glued modified shell and put the screws back in
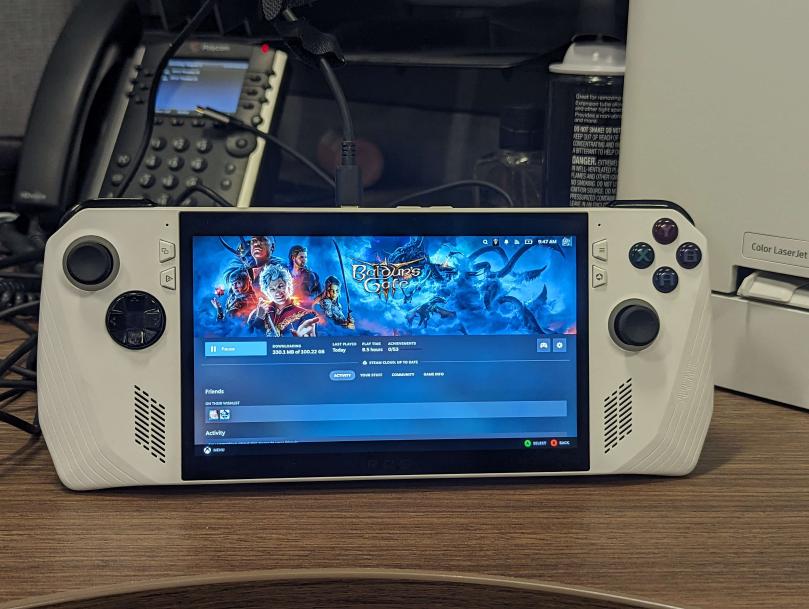
- Plug in OEM charger and hold the power button until the screen turns on.